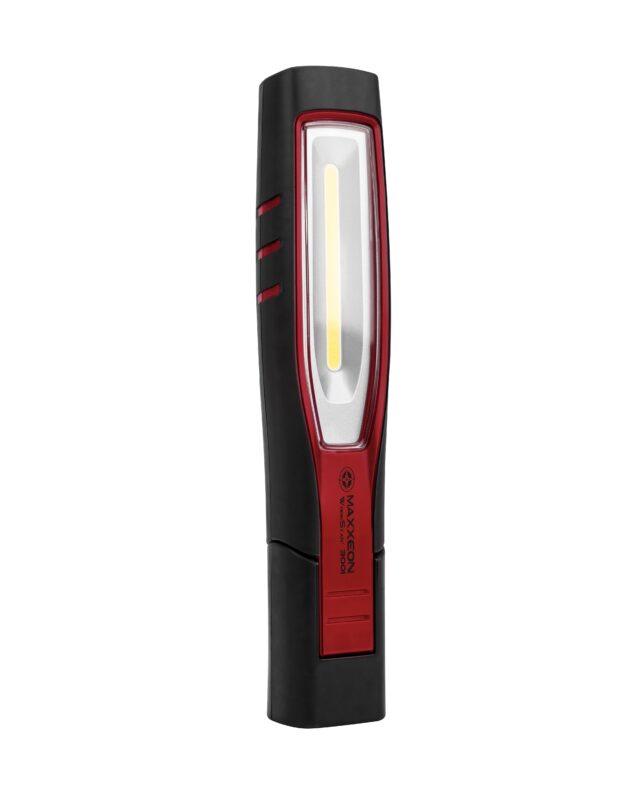
MAXXEON WorkStar® 220, 224 and 226 FAQ
Q. How long is the warranty and what does it cover?
A. The WorkStar® 220/224/226 warranty is one year from the date of purchase. The warranty covers manufacturing defects. It does not cover using the batteries or "wear and tear". For warranty issues see Shipping & Returns Policy.
Q. Where can I buy AAAA batteries?
A. AAAA batteries are expensive in local stores, but online they are reasonably priced. They are available from many online battery suppliers and are available for purchase from Maxxeon. Buy Parts Online from MAXXEON
Q. Is the glass lens covered under the one year warranty?
A. No, the glass lens is not covered under the one year warranty. The glass lens is tempered glass, so it is scratch resistant and very durable, but it will crack or break given enough force. Replacement glass lens are available for purchase from Maxxeon and they can be installed by the user. Buy Parts Online from MAXXEON
Q. My WorkStar 220/4/6 light either won't turn on, or flickers. Can I fix it?
A. There is a user-installable fix for recent versions of these products with this problem. To see if this fix is compatible with your light, remove the head and look inside. If there is a white nylon disk and a spring-loaded gold-plated pin, then send an email to customerservice@maxxeon.com and request the "WS220 coil spring". We will mail the coil spring to you.
How to install the coil spring
1. Unscrew the head.
2. Insert a pair of tweezers in the two small holes in the white plastic disc and unscrew the disc. Remove the disc and the gold-plated post and then remove the round PCB.
3. Using a small screwdriver, unscrew the brass ring slightly until it rotates easily. Then rotate the brass ring slightly until it just touches the plastic reflector. Do not tighten the brass ring against the reflector. If the plastic washer between the reflector and the brass ring has shifted off center, then center the plastic washer.
4. Insert the PCB, so that it is seated in the brass ring.
5. Insert the coil spring, so that the end without the 1mm hook is touching the brass ring and the end with the 1mm hook facing way.
6. Screw the white disc and gold post back in, compressing the spring. Stop when the gold post just touches the PCB and the white disc begins to feel tight. Do not over tighten. If the gold post does not fit snugly in the hole in the white disc, then turn the disc over and using the screwdriver, press on the edge of the hole at three or four places. This will increase the friction on the post.
Q. My switch seems to be broken, how can I tell?
A. First test the batteries, if they are OK then, unscrew the switch. Short the shiny aluminum edge of the body to the negative terminal of the battery with a small screwdriver. If the LED turns on now and it didn't with the switch in place, then the switch is defective. If the LED doesn't turn on, then see the previous Q & A. Replacement switch assemblies are available for purchase from Maxxeon. Buy Parts Online from MAXXEON
Q. Will the Cree® LED break or wear out?
A. No, the LED (light emitting diode) is a solid state device that does not "burn out". However, LEDs do get dimmer as they age. If left on continuously, the LED will start to dim after 10 years. The LED will not break in normal use.
Q. How tough is the WorkStar® 220/224/226?
A. Very tough — the WorkStar® 220/224/226 will survive a six foot drop onto a concrete floor.
Q. Is my WorkStar® 220/224/226 waterproof?
A. No, the WorkStar® 220/224/226 is equipped with rubber O-rings and is water resistant but should not be immersed in liquids.
INSTRUCIONS: How to install a glass lens
1. Unscrew the head.
2. Insert a pair of tweezers in the two small holes in the white plastic disc and unscrew the disc. Remove the disc and the gold-plated post and then remove the round PCB.
3. Using a small screwdriver, unscrew the brass ring using the two small slots in the brass ring.
4. Remove the plastic washer and reflector, then replace the glass lens. Reinstall the reflector and plastic washer.
5. Screw the brass ring until it just touches the plastic reflector. Do not tighten the brass ring against the reflector. If the plastic washer between the reflector and the brass ring has shifted off center, then center the plastic washer.
4. Insert the PCB, so that it is seated in the brass ring.
5. Insert the coil spring, so that the end without the 1mm hook is touching the brass ring and the end with the 1mm hook facing way.
6. Screw the white disc and gold post back in, compressing the spring. Stop when the gold post just touches the PCB and the white disc begins to feel tight. Do not over tighten. If the gold post does not fit snugly in the hole in the white disc, then turn the disc over and using the screwdriver, press on the edge of the hole at three or four places. This will increase the friction on the post.
To Contact MAXXEON:
Email: customerservice@maxxeon.com
Phone: (877) 621-0005 [Weekdays 9am to 6pm Eastern]
Fax: (519) 620-2011
| Maxxeon Customer Service 46 Clegg Street Ottawa, ON Canada K1S 0H8 |
Maxxeon Repair Center 1066 Halsey Dr Coupeville, WA 98239 USA |


